
How to Set Up Your Billing Profile in Kiri Align?
Below mentioned are the steps to follow for setting up a billing profile.
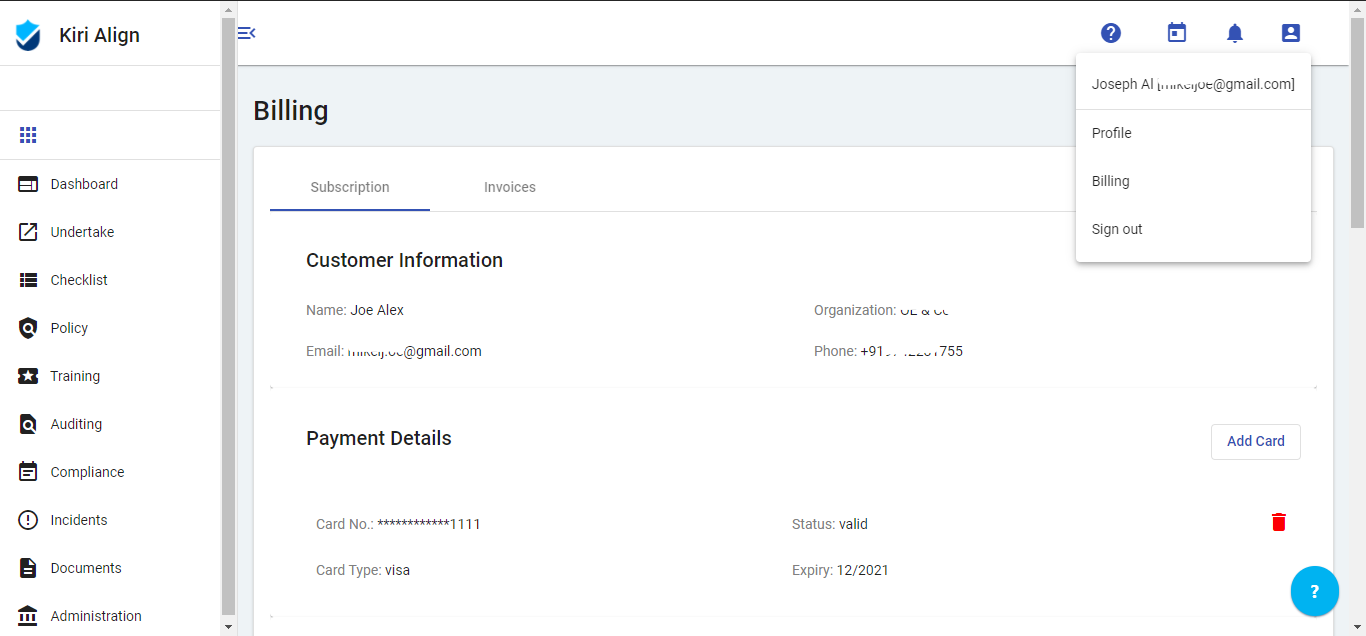
1. Once you login to Kiri Align, go to the profile section. Under the profile section, you navigate to billing, as shown below:
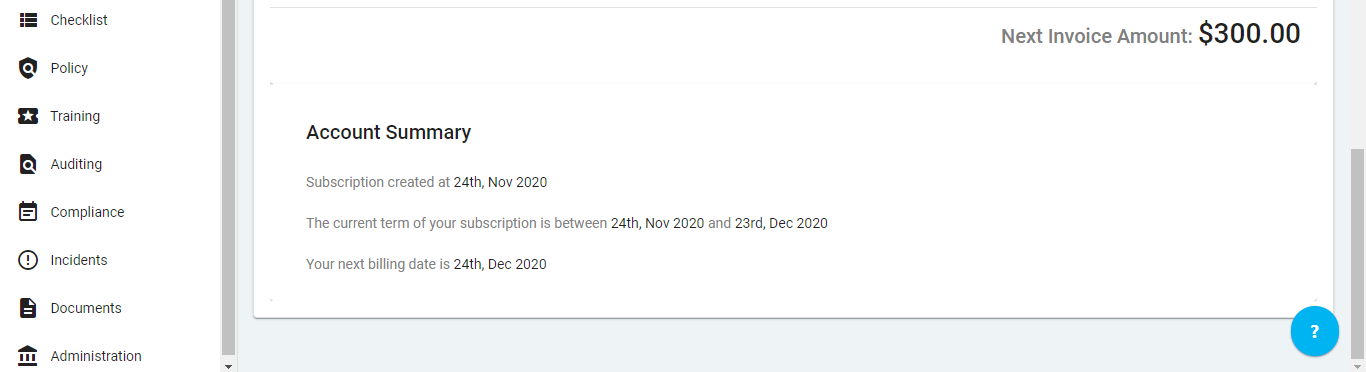
2. Clicking on ‘Billing’ will take you to the billing screen which will have fields - Customer information, Payment details, Billing address, Subscription, and Account Summary.
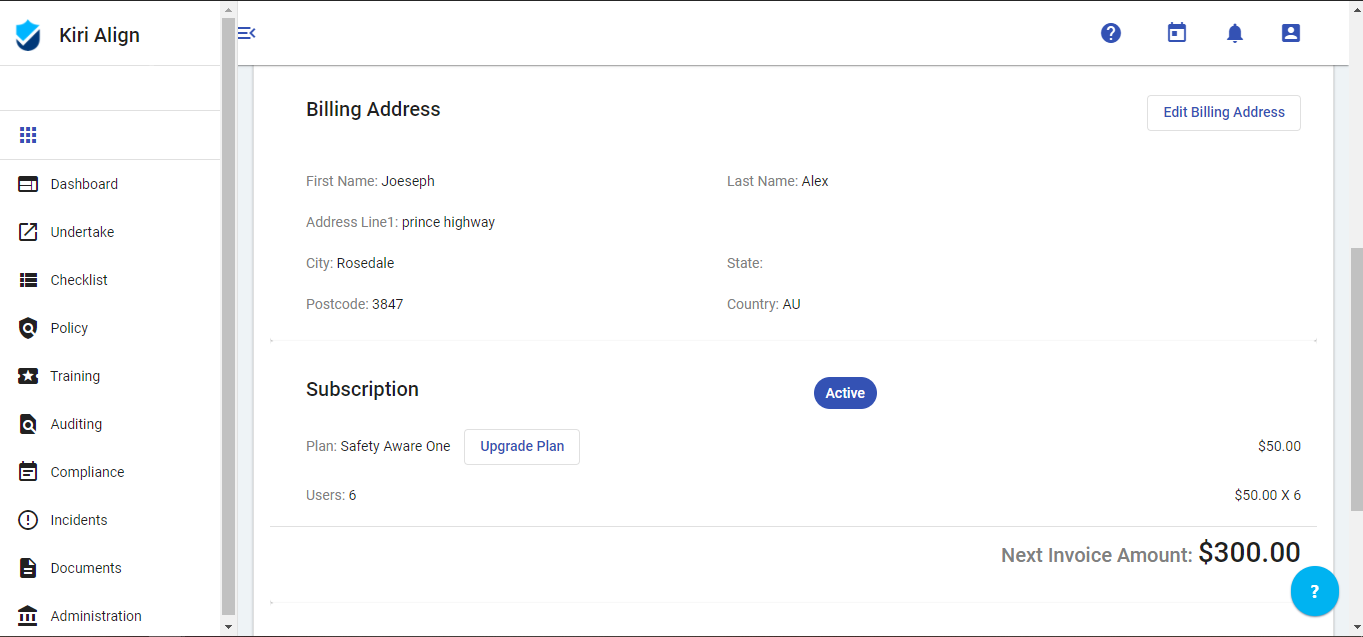
3. Under Payment details, enter the card details by clicking on 'Add card' In case the card is expired, you can delete the previous card and add the new card.

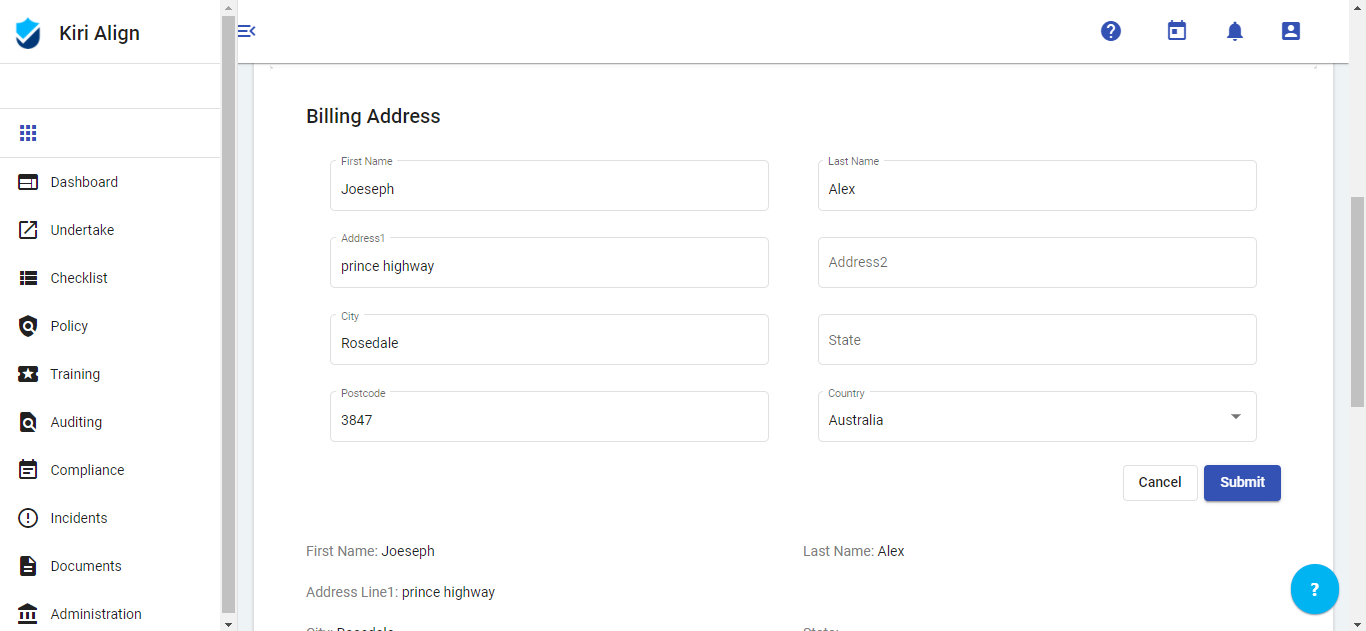
4. Under Billing Address, edit the billing address by clicking on 'Edit Billing Address' and click on “Submit” to save changes.
To set up your billing profile in Kiri Align, please visit:
Update Your Billing ProfileFor any further queries , you can write to us at - enquires@kirialign.com

